DIY: Ladder Water Fountain
A highlight for the terrace, the garden or the house! With this great DIY water feature you don't only create a relaxing water lapping idyll, but in conjunction with the ladder you create a fresh and trendy ambience.
In this article you can find out how to rebuild this small well in a very simple way, with very little material.
| Material | Tools |
|---|---|
| Wooden slats (Spruce) 58mm x 38mm (wxh) | Mitre Saw/Handsaw |
| Wooden slats (Spruce) 48mm x 22mm (wxh) | Cordless Screwdriver |
| Bucket/Barrel | Cloth |
| Wooden Screws 6x25mm | Brush |
| Wood Stain | Abrasive paper |
| Watering Can | Rotating Sander |
| Water Pump and hose | |
| Cable Clamps |
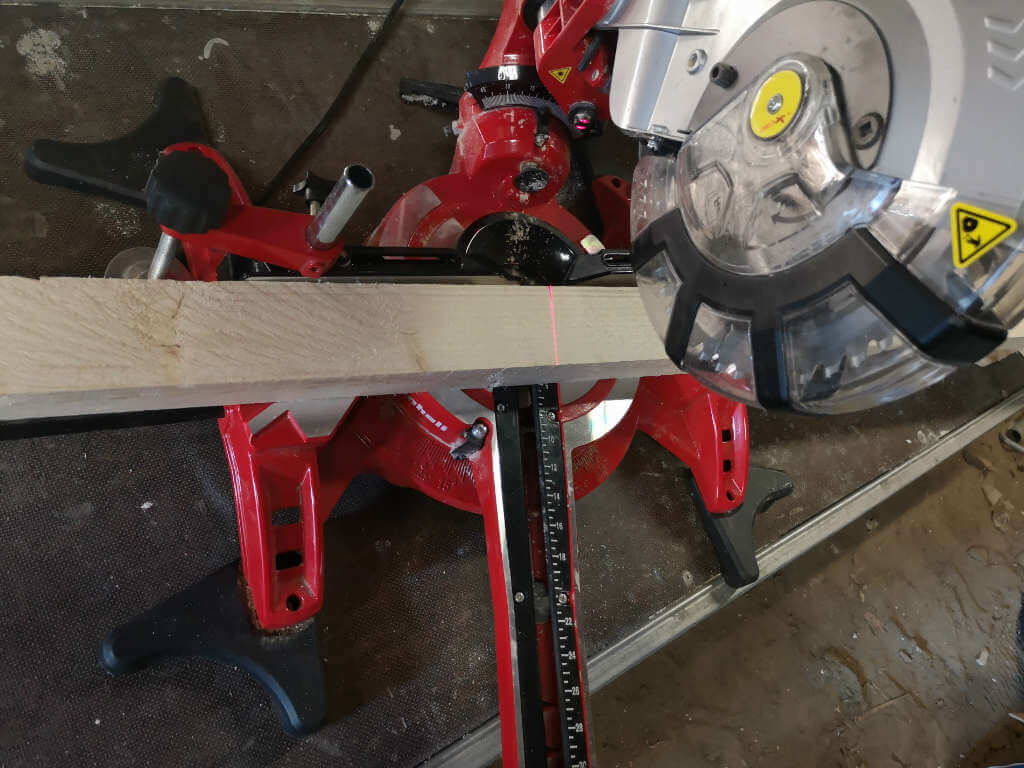
First you take the wooden slats 58mm x 38mm, these are for the frame. You cut 4 pieces to a length of 120 cm, by using the mitre saw. In order for the ladder to have a secure stand, you cut the pieces at an angle of 15 degrees.
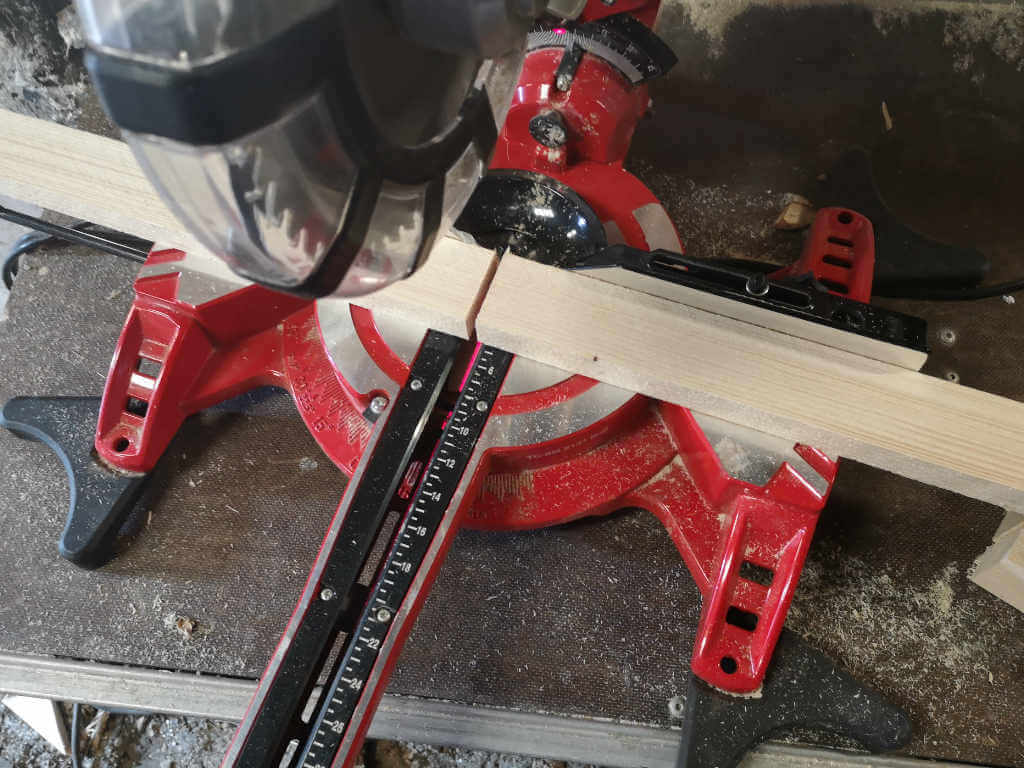
Now you cut the spruce wood slats with the dimensions 48mm x 22mm each to a length of 40 cm. Here we need 6 pieces, so each ladder has 3 steps.

If you have untreated spruce wood slats, you need to sand them. You can do that with a Rotating Sander, Belt Sander or even by hand. For that I used sandpaper with 120 grit
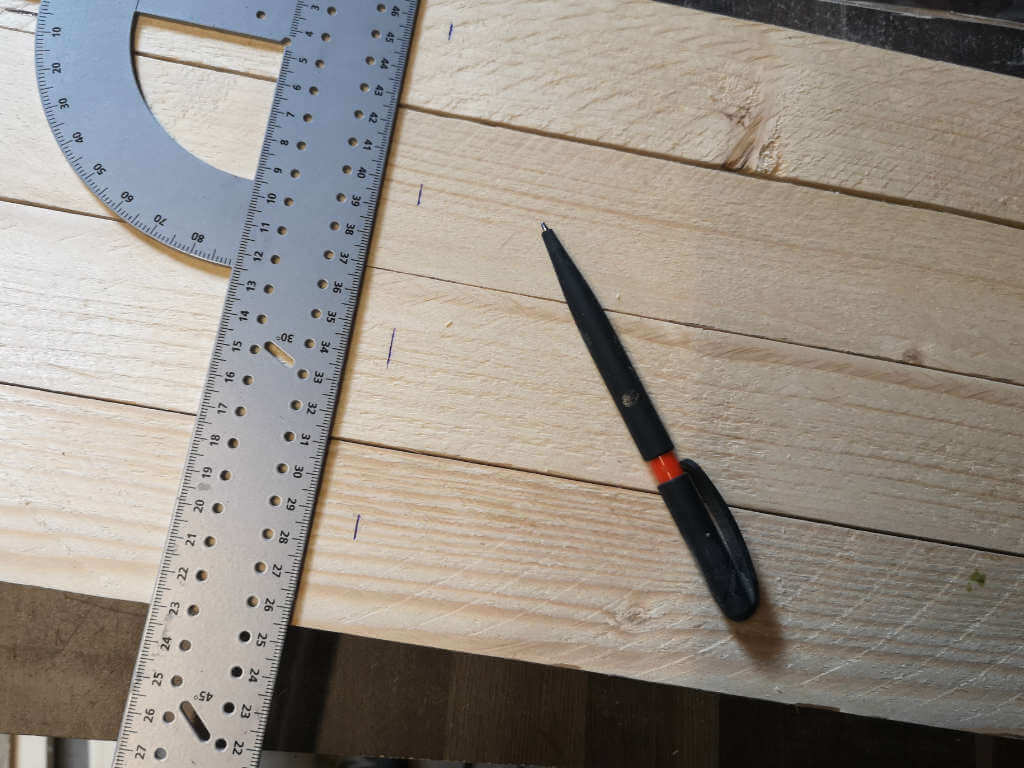
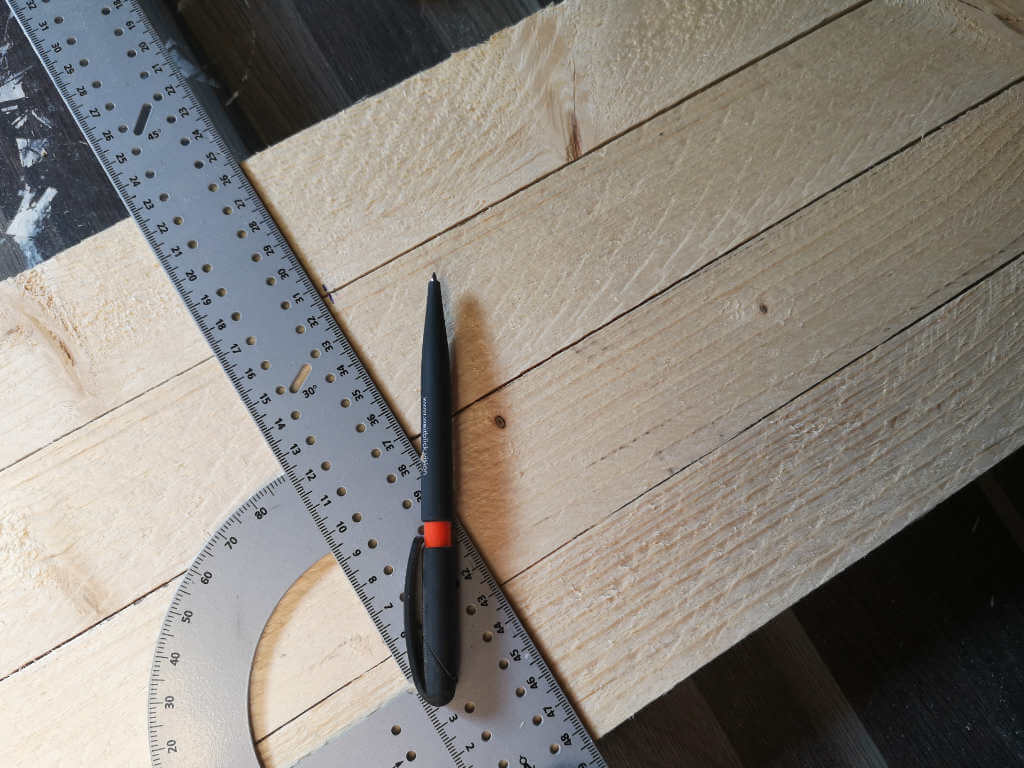
If all pieces are cut and sanded, you take the thicker wooden slats which represent the frame of the ladder. You place the 4 slats with the flat side down and make a mark at 30 cm, 60cm and 90 cm.
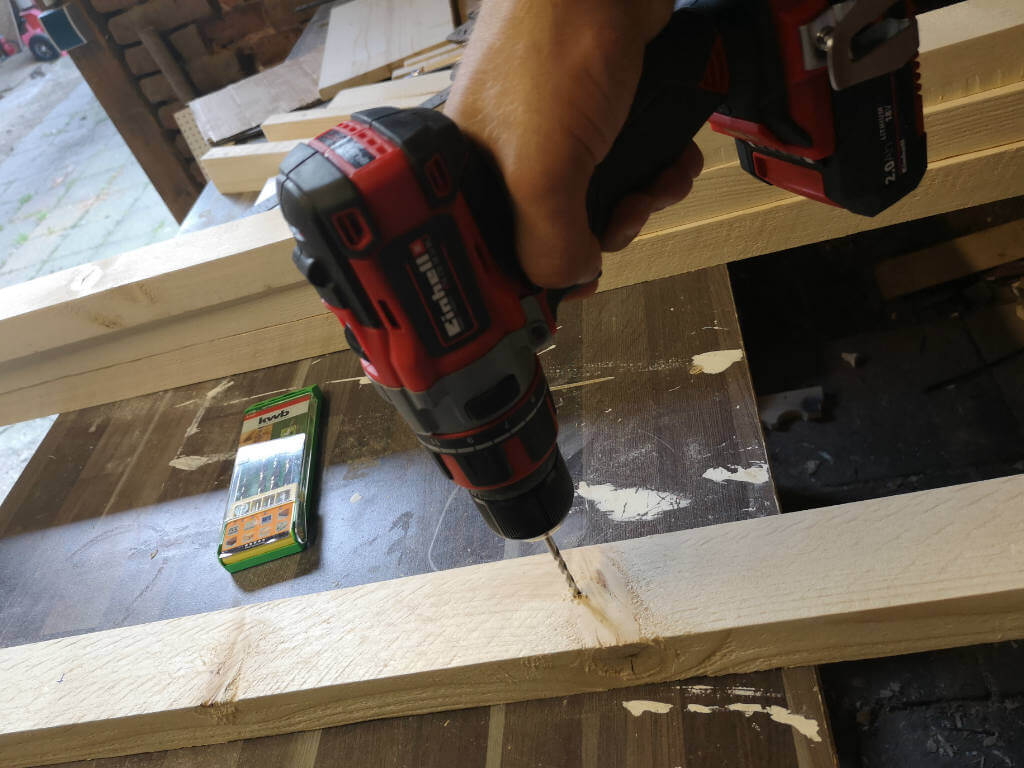
There you then drill the wooden slats with a 4-bit drill. You can now align and screw the steps between the two predrilled points.
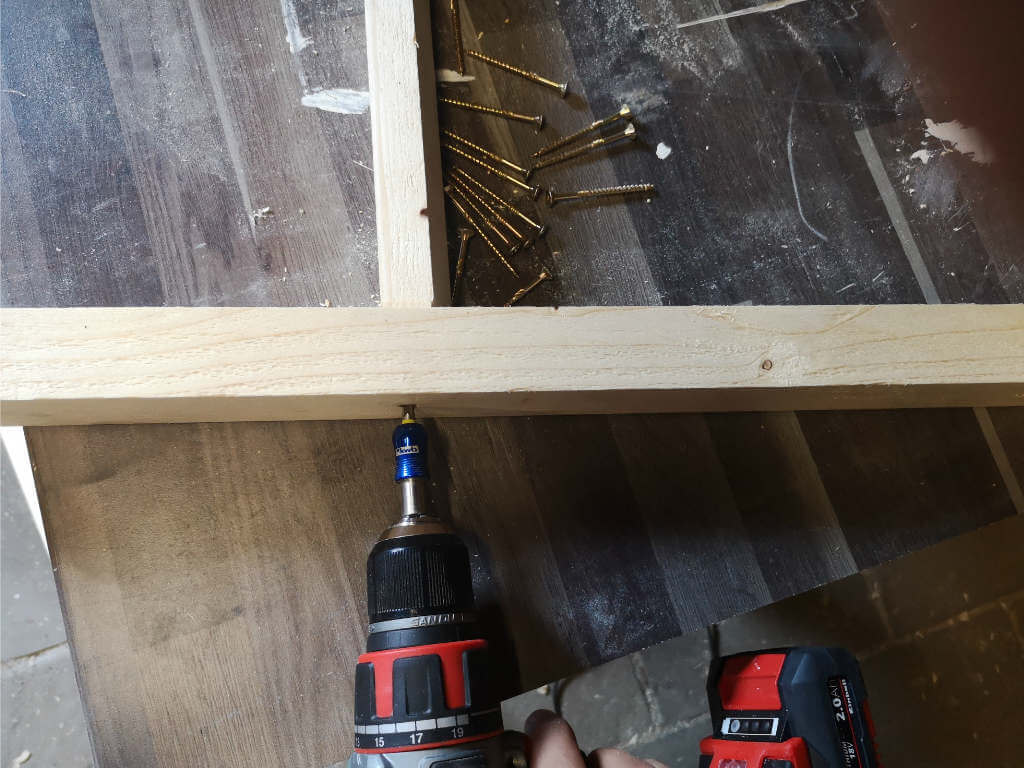
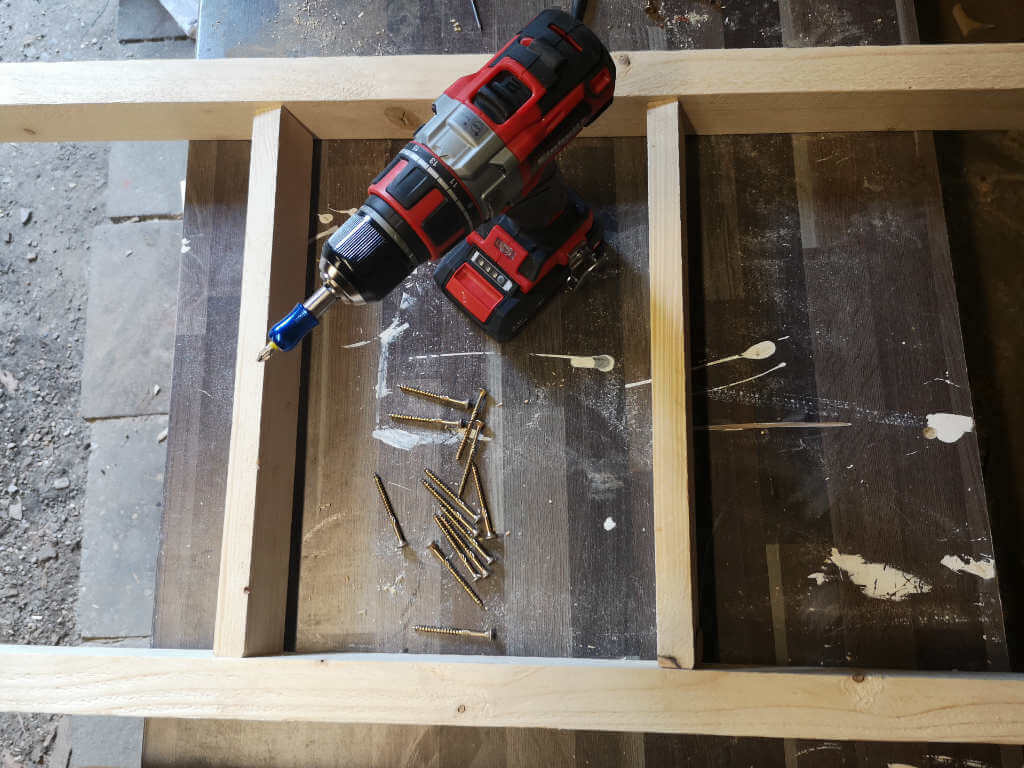
When screwing, I make sure that the steps also have an angle of about 15 degrees, to make sure, that the ladder stands even on the ground. Now you screw everything together, so you have in the end the two sides of the ladder.
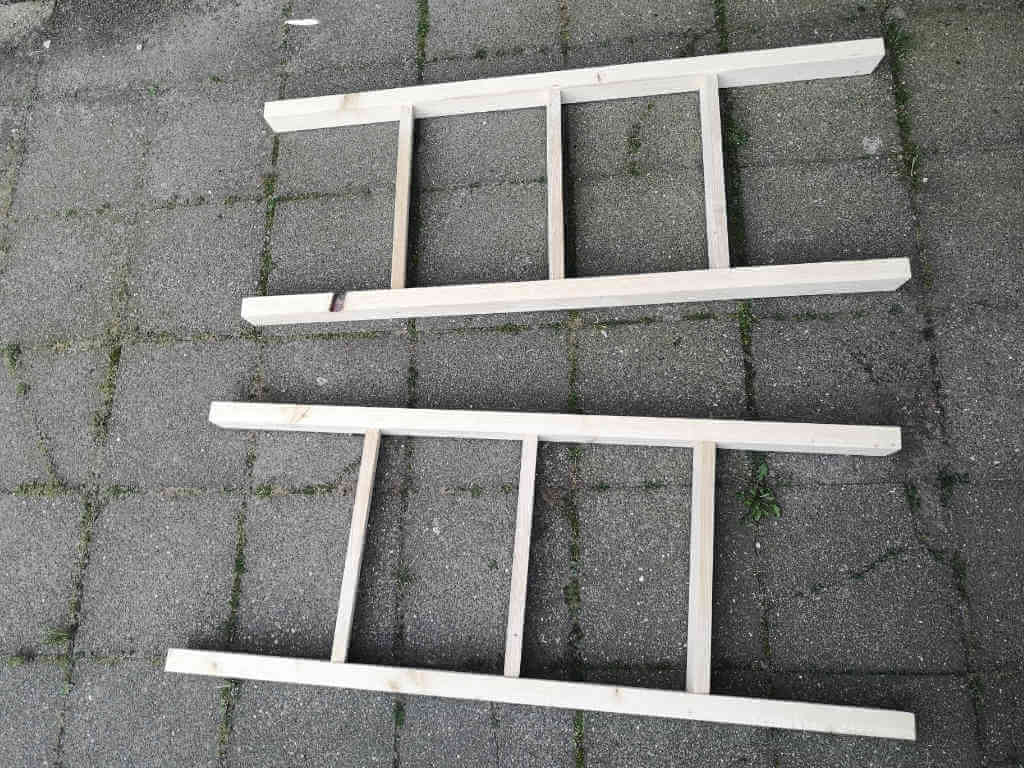
For connecting the two sides of the ladder, you take the thicker wooden slat with dimensions of 58mm x 38mm and cut it to a length of 40cm.
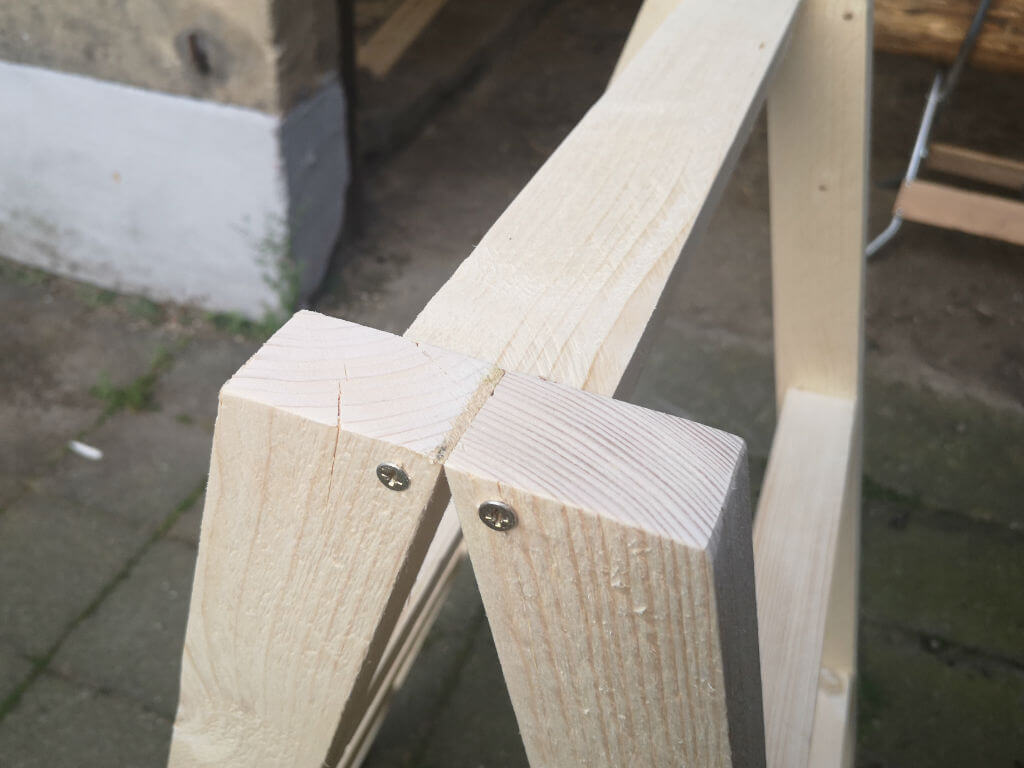
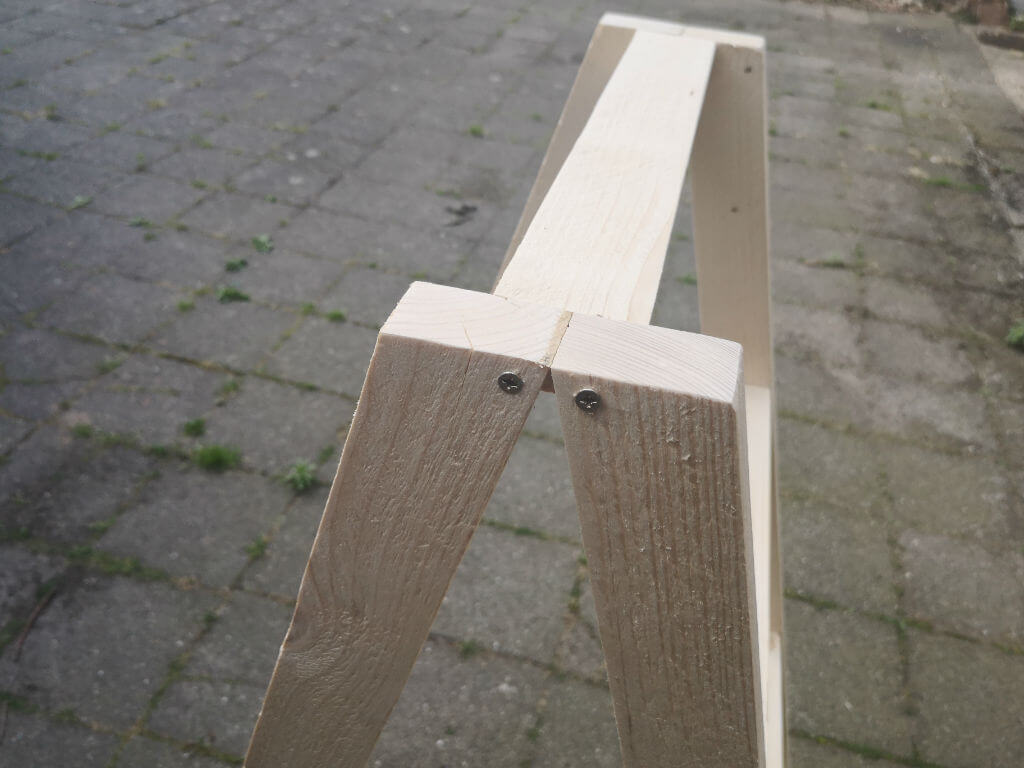
This two sanded pieces are then bolted together tightly. Please also pre-drill the holes with a 4mm drill so that the wood doesn't break. Once done, you can oil or varnish the ladder as you want. I used a waterproof dark varnish because I wanted to leave the ladder outside.
Now you align the barrel under the ladder. Because the barrel isn't waterproof, I put a plastic bucket in it.
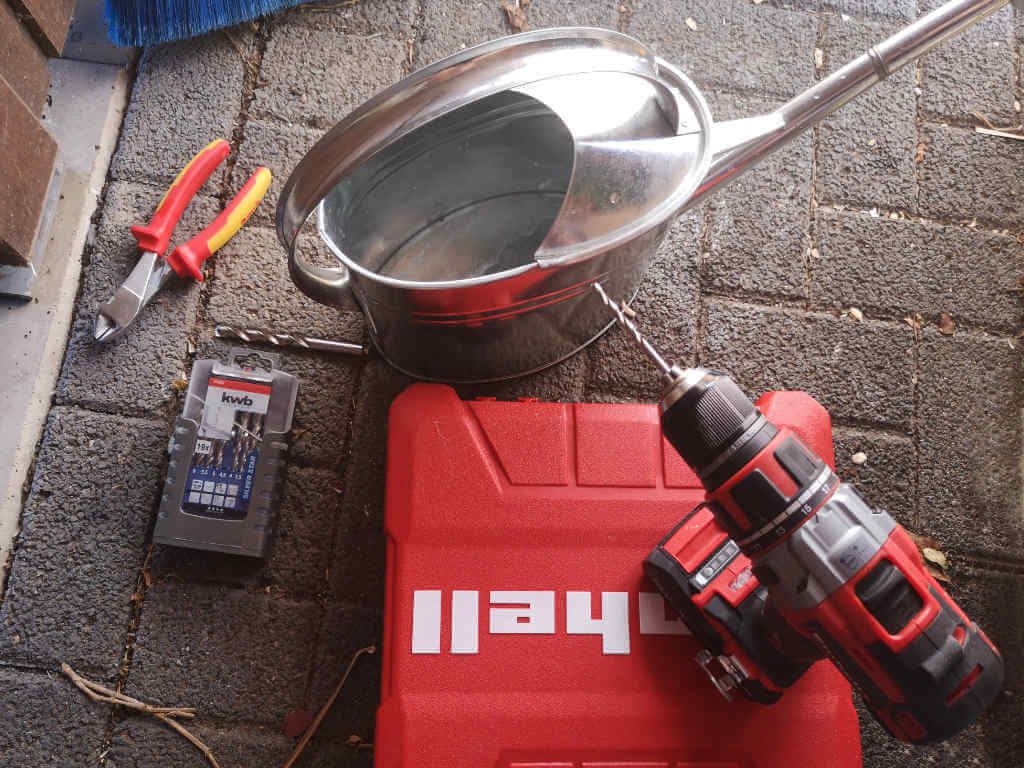
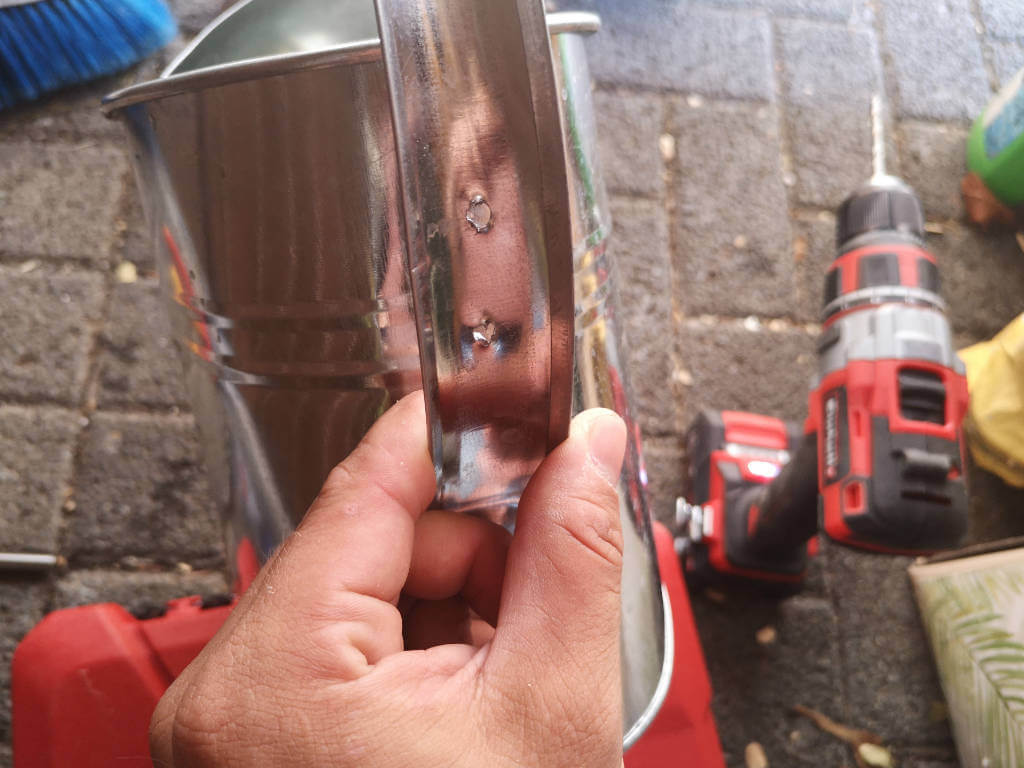
Next you take the watering can and drill two holes into the handle with a 5mm iron drill. Here the holes are used for attaching it to the ladder. Therefore I used 5x30mm screws.
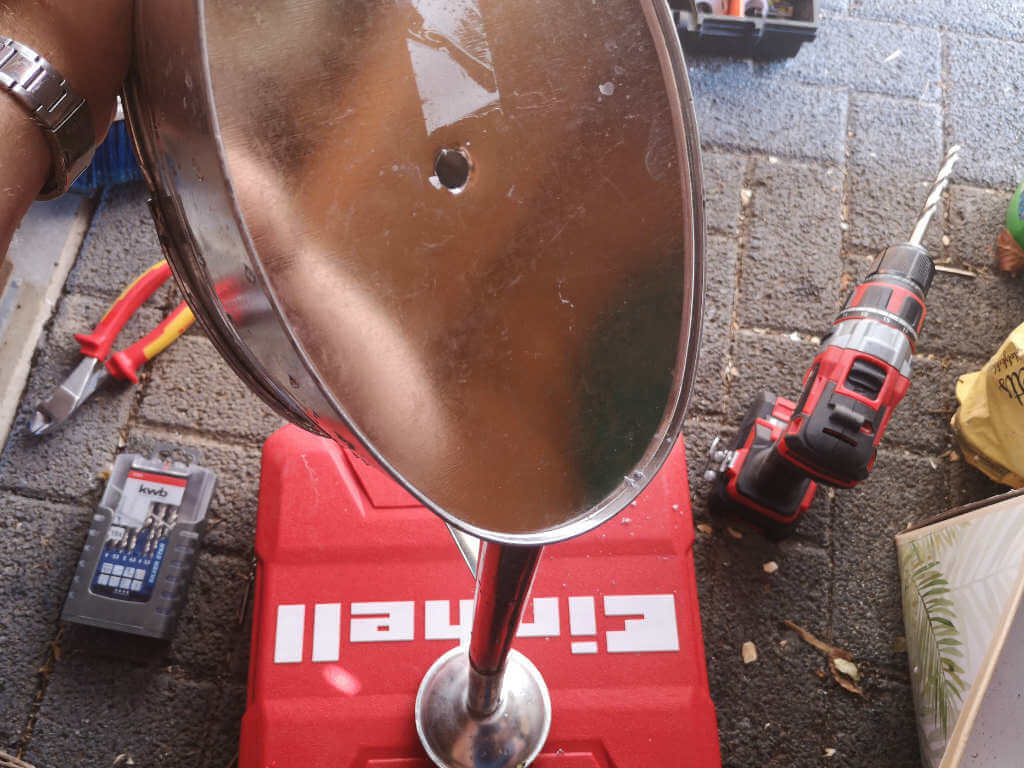
Now you drill a hole on the bottom of the barrel, right where the hose is later pushed through, the size aligns with the thickness of the hose.
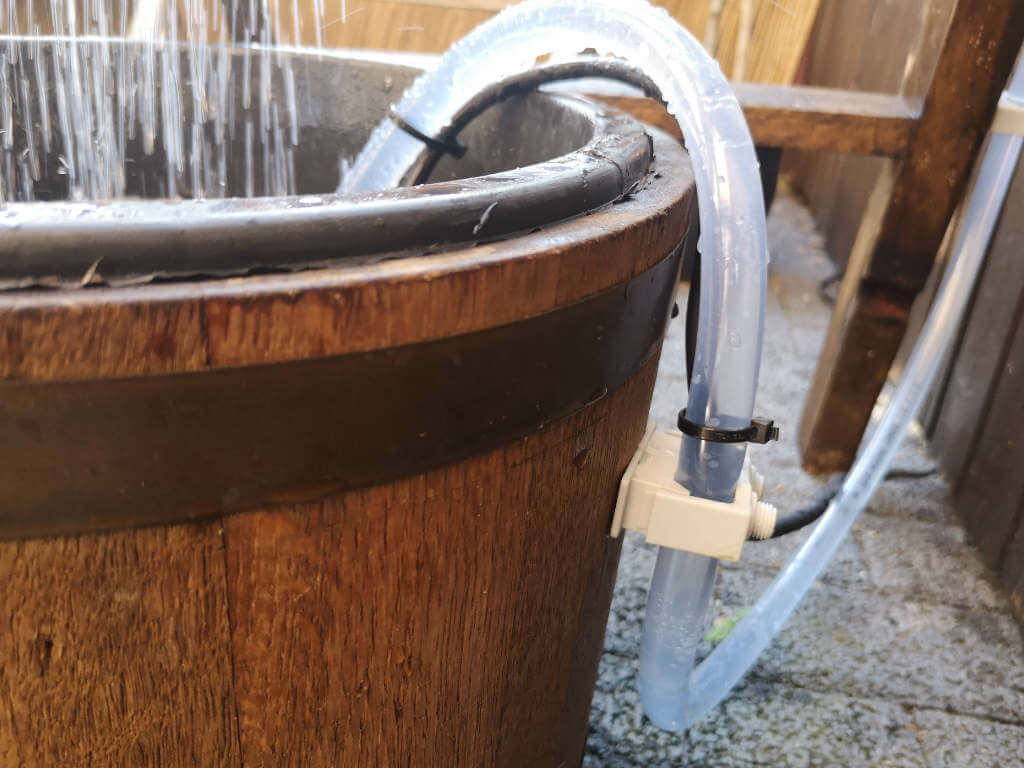
Now you can screw the watering can to the upper beam of the ladder. After the watering can is screwed on, you can lay the hose from the barrel to the watering can at the back of the ladder. For this I use cable clamps, these are fastened with a screw and the hose is clamped there.
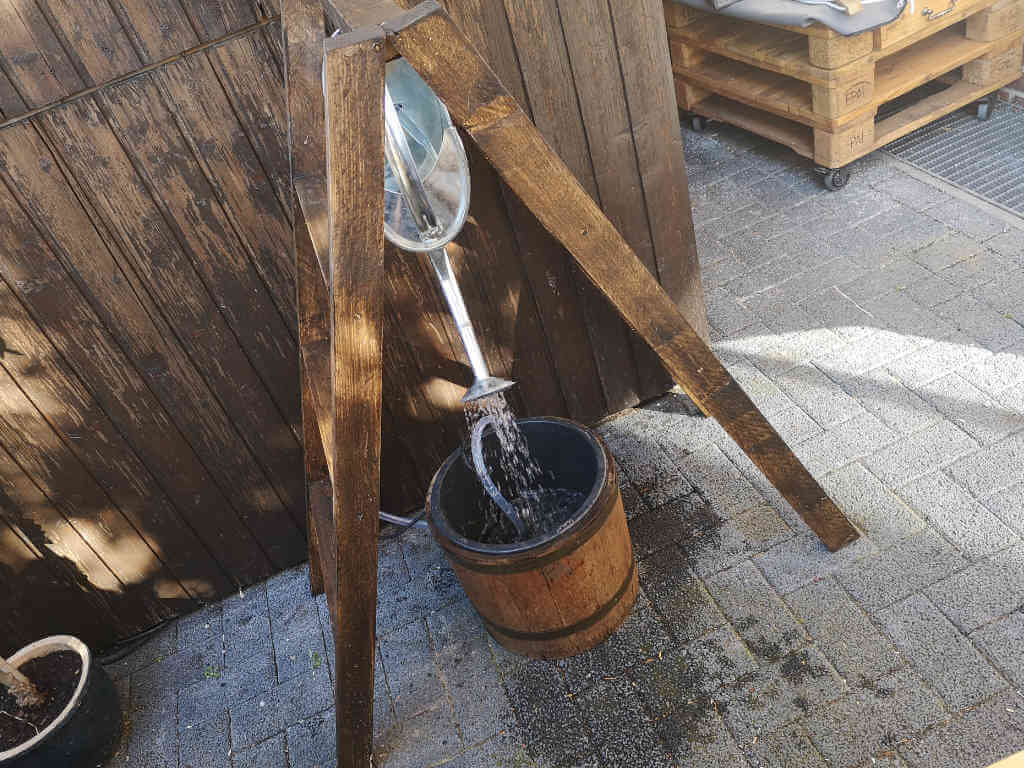
Put the pump in the bucket and connect the hose according to the manufacturer's instructions. Now you fill the bucket with water and start the pump. You can adjust the amount of water later if necessary.
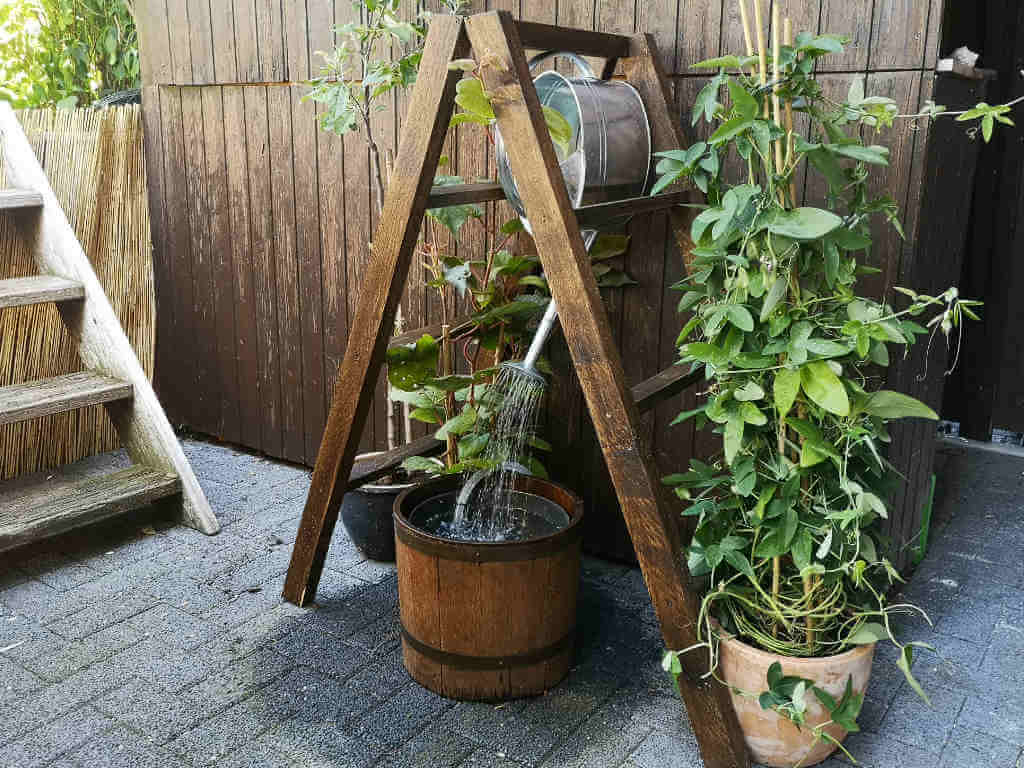
Now your water play is finished and hopefully will bring much joy.
Kind regards
Tobias Peters
Our recommendations for your project

Tobias Peters is a passionate DIY enthusiast who shares a wide range of projects on Instagram @tobis_handcraft and his website tobis-handcraft.de – from furniture making and decoration to lighting design. Together with his partner Steffi, he is also renovating a 1950s country house. On the Einhell Blog, Tobi offers practical tips and step-by-step guides for creative home improvement projects.